
In order to show the agent which messages were accepted by the consumer device and which were read by the consumer, the client should publish read/accept receipts. The same events are published by the agent side and may be displayed to the consumer. In this tutorial we will see how to publish these events.
Prerequisites
See Prerequisites.
Step 1 — Create a Conversation
Open the WebSocket connection using:
wscat -k 60 -H "Authorization:jwt $LP_JWT" -c "wss://$LP_ASYNCMESSAGINGENT/ws_api/account/$LP_ACCOUNT/messaging/consumer?v=3"
Send a request on the connection to create a new conversation with the following JSON object:
{"kind":"req","id":1,"type":"cm.ConsumerRequestConversation"}
In response, you will get the ID of the new conversation.
{
	"kind": "resp",
	"reqId": "1",
	"code": 200,
	"body": {
		"conversationId": "7507be78-60ef-4468-b3b1-baa47fbeea21"
	},
	"type": "cm.RequestConversationResponse"
}
Step 2 — Agent sends Messages
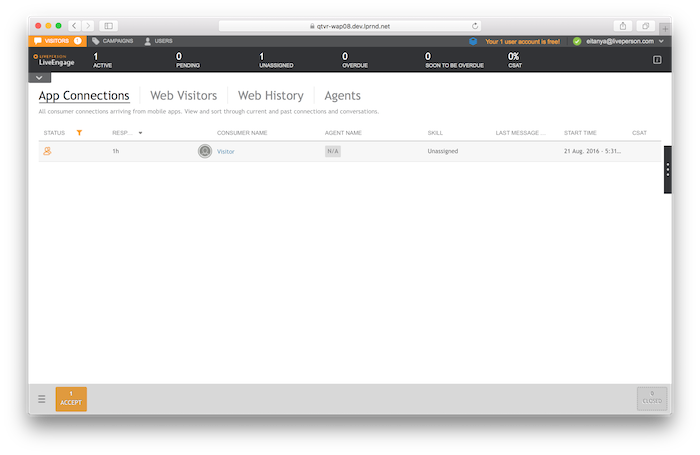
Switch to the Agent Workspace and click Accept to take the conversation.
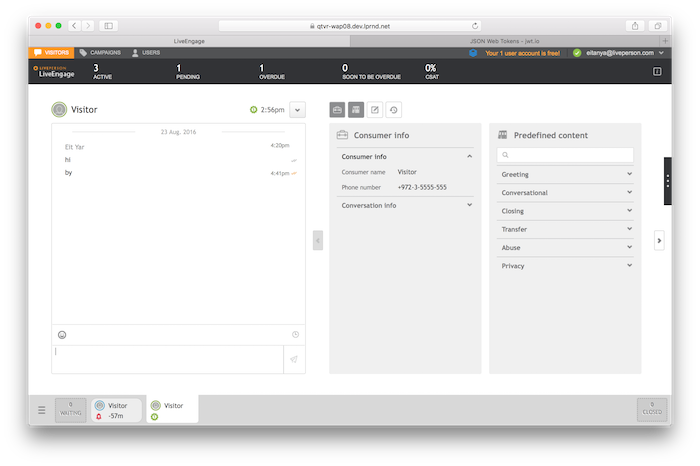
Type a few messages in the Agent Workspace.
Switch again to the consumer API shell and to the open WebSocket connection. In the open WebSocket you should see a notification about the agent line. The notification message should be similiar to the following message:
{
   "kind": "notification",
   "body": {
      "changes": [
         {
            "sequence": 3,
            "originatorId": "3d834d4d-8f0b-5708-9e17-115ae1da4ad1",
            "serverTimestamp": 1487455441507,
            "event": {
               "type": "ContentEvent",
               "message": "some agent text",
               "contentType": "text/plain"
            },
            "dialogId": "940f401e-dc4c-49a9-bff2-2bbb5bd0df64"
         }
      ]
   },
   "type": "ms.MessagingEventNotification"
}
You should see the text you type is displayed in the Agent Workspace in the message field. In this message, find the dialogId and the sequence fields.
Step 3 — Publish Accept and Read Events
We will now publish an accept receipt for this message.
Type the following request to the WebSocket connection while substituting the DIALOG_ID and the SEQUENCE with the values from the above message.
{"kind":"req","id":2,"type":"ms.PublishEvent","body":{"dialogId":"__DIALOG_ID__","event":{"type" : "AcceptStatusEvent" , "status" : "ACCEPT", "sequenceList" : [ __SEQUENCE__ ]}}}
Switch to the Agent Workspace. You will see that the a second "V" has appeared next to the agent message.
You can also try sending read receipts using a similar message.
{"kind":"req","id":2,"type":"ms.PublishEvent","body":{"dialogId":"__DIALOG_ID__","event":{"type" : "AcceptStatusEvent" , "status" : "READ", "sequenceList" : [ __SEQUENCE__ ]}}}
If you now switch to the Agent Workspace, you will see that the "V"s appear in an orange color.