
This is a tutorial series that's cumulative in nature. What's more, this series builds on the beginner's series. To complete this tutorial, start from the beginning.
Every bot should include a way to automatically escalate when a user gets stuck. This often happens when a user is attempting to answer a text question, but their responses are not passing the needed validation. Previously, to implement such a policy required the writing of custom JavaScript to keep track of a user's attempts to answer a question, pointing to an escalation interaction if a threshold was crossed. Now, Conversation Builder provides a special dialog type which takes care of all this for you without having to write any code.
Step 7: Create the Auto Escalation dialog
Prior to this step, make sure that you have captured the skill ID associated with your Human skill. This should be the same ID that you are using in the Escalation dialog in your Service Bot (refer to the interaction settings for the Agent Transfer interaction).
- Navigate to the Order Bot in Conversation Builder.
-
Click Add Dialog in the lower-left corner, and fill the resulting Add Dialog form with the following:
- Dialog Name: Auto Escalate
- Dialog Type: Auto Escalation Dialog
- Auto Escalation Skill: Your human skill ID
- Auto Escalation Threshold: 2
The threshold refers to how many times a user can fail a validation prior to offering escalation. We’ll keep it at 2 for the purpose of demonstration, which will escalate at the 3rd failure. In practice, it is recommended to escalate sooner rather than later when a user hits a roadblock.
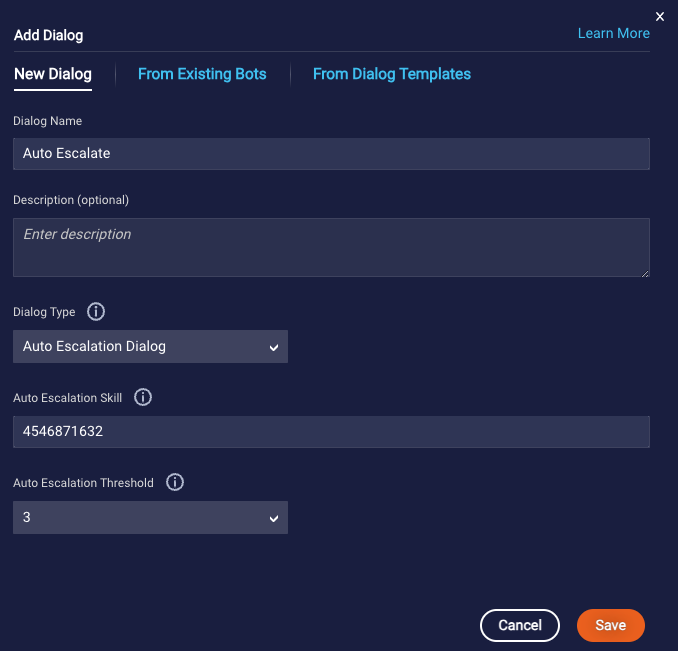
Click Save.
-
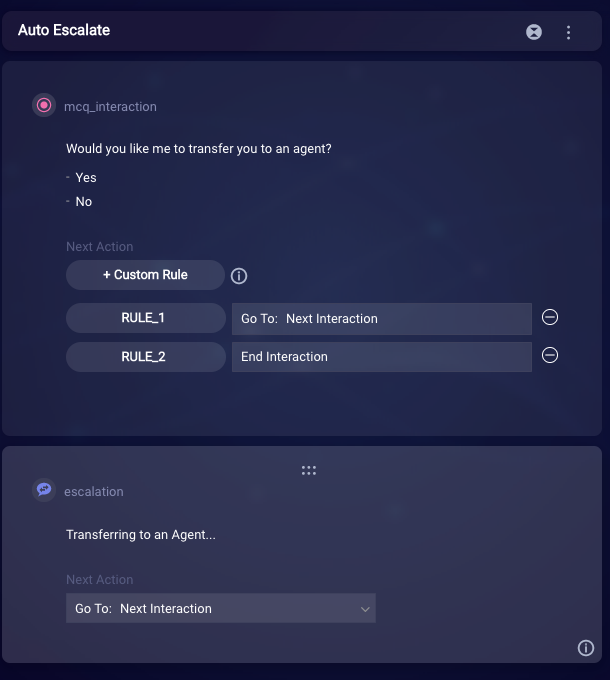
The resulting dialog will be generated with two interactions:
- A Multiple Choice question to confirm that a user wants to be escalated to an agent
- The corresponding escalation integration
Because the user has not explicitly asked to be transferred to an agent, it’s good practice to confirm that this is what they would like to do.
-
Modify the content of the multiple choice interaction to match the voice of your brand. Note that two rules have been automatically created to match the ‘yes’ and ‘no’ responses, so they will need to be updated should you change the response options.
-
In the Agent Transfer (escalation) interaction, click the Settings wheel in the upper-right corner, and navigate to the Advanced section to confirm that your Agent Skill ID has been properly added. Click Cancel.
-
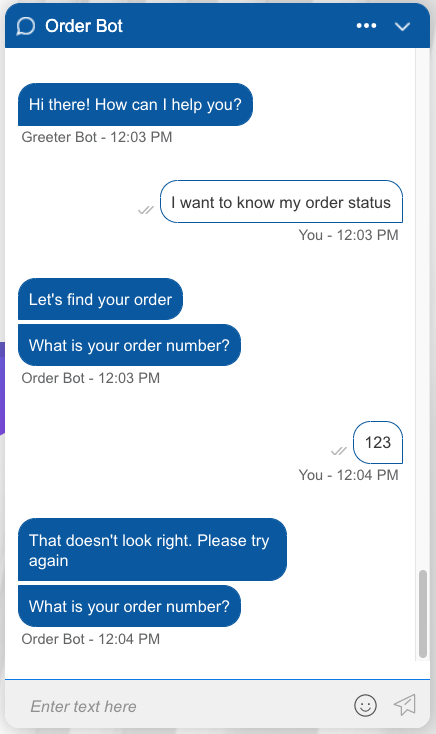
To test this new functionality, navigate back to the demo deployment site and enter your account number. After being greeted by the Greeter Bot, trigger the Order Status intent by messaging “I want to know my order status”. The Order Bot will recognize the intent and trigger the associated dialog, prompting for an order number.
-
The question to capture the order number has a validation to ensure that it meets the A001001 format. Type in a message that fails this validation, so you receive a re-prompt of the question.
-
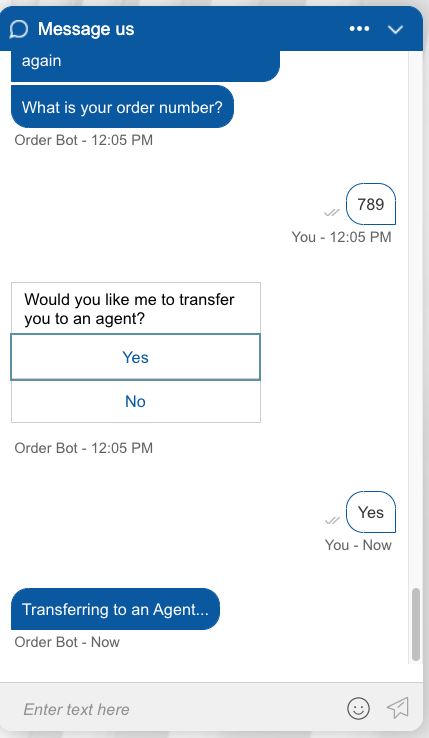
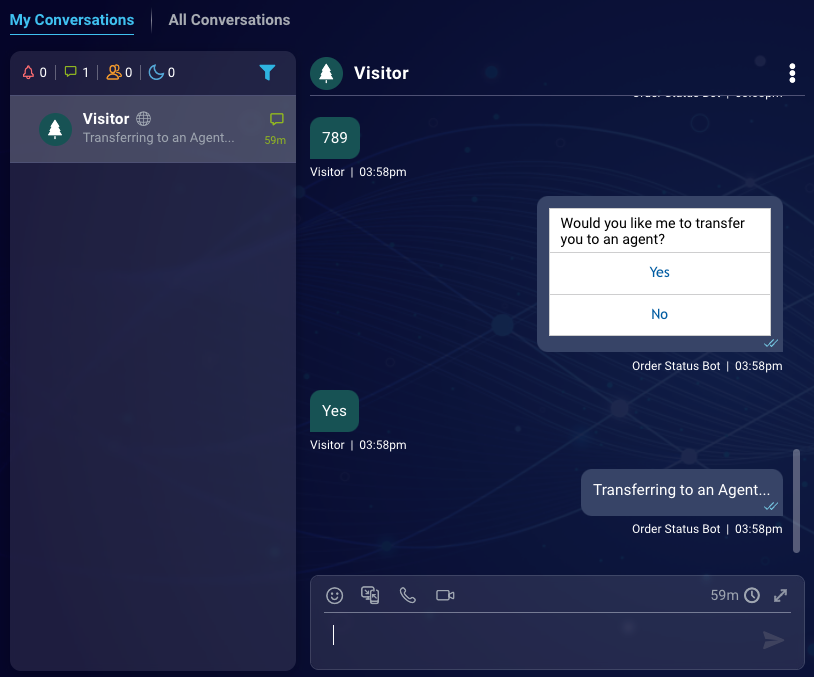
Follow this with additional messages that also fail the validation. On the 3rd failure, the Auto Escalation dialog will be triggered and will provide the user with the option to escalate to an agent. Select "Yes" to confirm that the escalation has been implemented correctly.
-
If set to the proper skill ID, you should hear a ring from the Conversational Cloud and see an option to accept the incoming conversation. Once you do this, you can converse as the agent with the user.
What's next?
Continue on to the next tutorial in the series.