Overview
The transition to messaging for brands is a big moment. There are various ways for brands to start their messaging operations, some quicker than others. Mobile App Messaging is an incredibly successful messaging channel that keeps consumers in a brand’s app. There are times, though, that a brand may want to start messaging right away, before the Mobile App Messaging SDK has been implemented. For those cases, we suggest SMS via Mobile App Messaging.
This document will review the benefits of SMS via Mobile App Messaging in addition to providing a walk-through of the configuration for a brand’s mobile app developers.
Benefits
-
Enjoy quick and easy messaging deployment
-
No authentication needed means that brands can get on messaging quicker while they are waiting for their Mobile App Messaging SDK deployment.
-
Handle large volumes of consumer messages and agent profiles
-
Centralize agents, tools, and reports for SMS messages with other forms of messaging

How the capability works
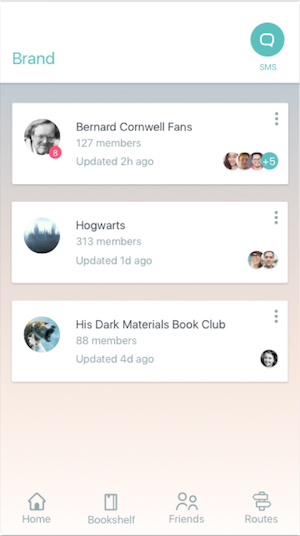
When a consumer visits a brand’s app, they will see the option to message within the app. Upon clicking the 'message’ button, they will be immediately sent to their native SMS messaging app and can seamlessly start messaging with the brand. This is in contrast to the Mobile App Messaging SDK, which would keep the consumer within the app for an Mobile App Messaging experience.
Prerequisites for using the solution
-
Messaging enabled on the Conversational Cloud account
-
A live and functioning app
-
Android Studio and Xcode
-
Mobile App Developers for Android and iOS
Configuring the capability
Android Studio
Place this code inside your MainActivity.java file. This code is tied to a button layout object with an id = "SMSbutton".
Button showSMSbutton = (Button) findViewById(R.id.SMSbutton);
showSMSbutton.setOnClickListener(new View.OnClickListener() {
  @Override
  public void onClick(View view) {
    Intent smsIntent = new Intent(android.content.Intent.ACTION_VIEW);
    smsIntent.setType("vnd.android-dir/mms-sms");
    smsIntent.putExtra("address", "5551234567");
    smsIntent.putExtra("sms_body", "Testing hello 123");
    startActivity(Intent.createChooser(smsIntent, "SMS:"));
  }
});
iOS Xcode
Place the below code into your ViewController.swift file:
Requires two frameworks: Messages framework, MessagesUI framework.
Note: Opening an SMS app cannot be done in the Simulator, only on a device.
import UIKit
import MessageUI

class ViewController: UIViewController, MFMessageComposeViewControllerDelegate, UINavigationControllerDelegate{

  override func viewDidLoad() {
    super.viewDidLoad()
  }

  override func viewDidAppear(_ animated: Bool) {
    super.viewDidAppear(animated)
    sendMessage()
  }

  override func didReceiveMemoryWarning() {
    super.didReceiveMemoryWarning()
  }

  func sendMessage() {
    if MFMessageComposeViewController.canSendText(){
       let messageVC = MFMessageComposeViewController()
       messageVC.delegate = self
       messageVC.body = "Enter a message";
       messageVC.recipients = ["Enter tel-nr"]
       messageVC.messageComposeDelegate = self;

       self.present(messageVC, animated: false, completion: nil)
    }
  }

  func messageComposeViewController(_ controller: MFMessageComposeViewController, didFinishWith result: MessageComposeResult) {
    switch (result) {
    case .cancelled:
       print("Message was cancelled")
       self.dismiss(animated: true, completion: nil)
    case.failed:
       print("Message failed")
       self.dismiss(animated: true, completion: nil)
    case .sent:
       print("Message was sent")
       self.dismiss(animated: true, completion: nil)
    }
  }
}
