
LivePerson Functions allows you to schedule periodic invocations of your productive functions. This feature is ideal for maintenance tasks, recurring data syncs, or any logic that needs to run at specific intervals without manual intervention.
Getting Started
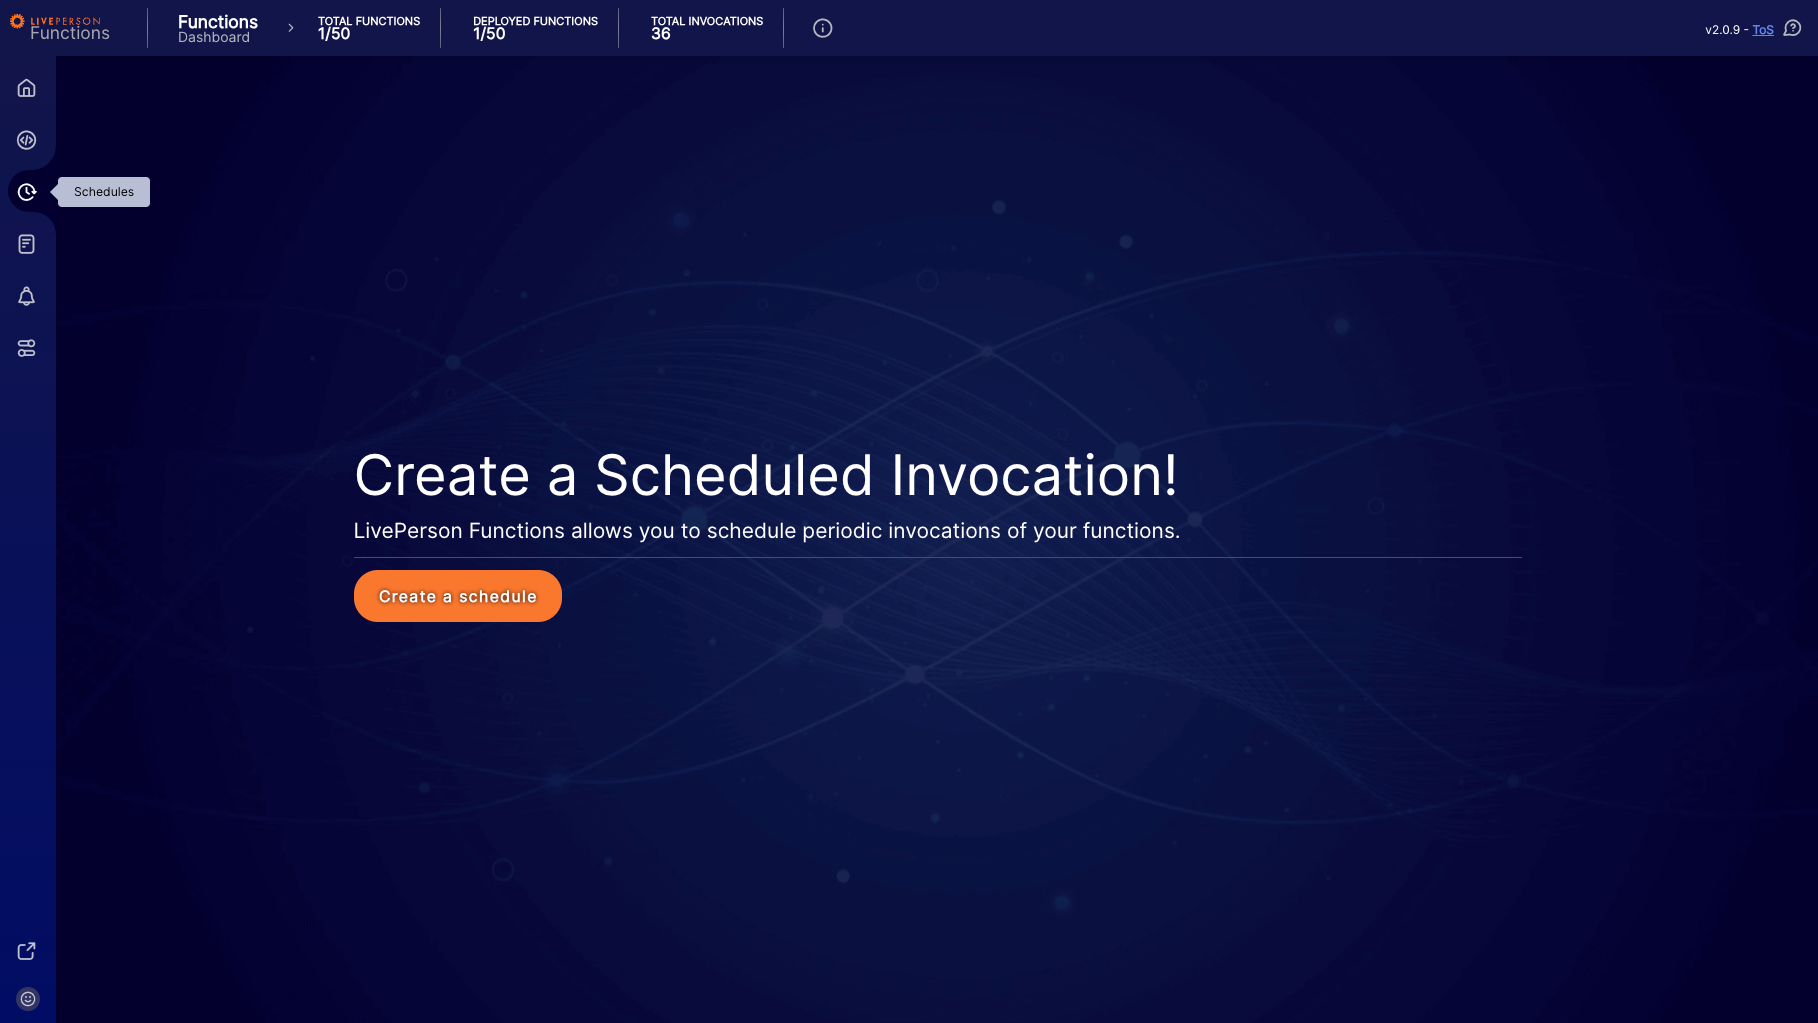
If you have not created any schedules yet, the dashboard presents a welcome screen prompting you to create your first scheduled invocation.
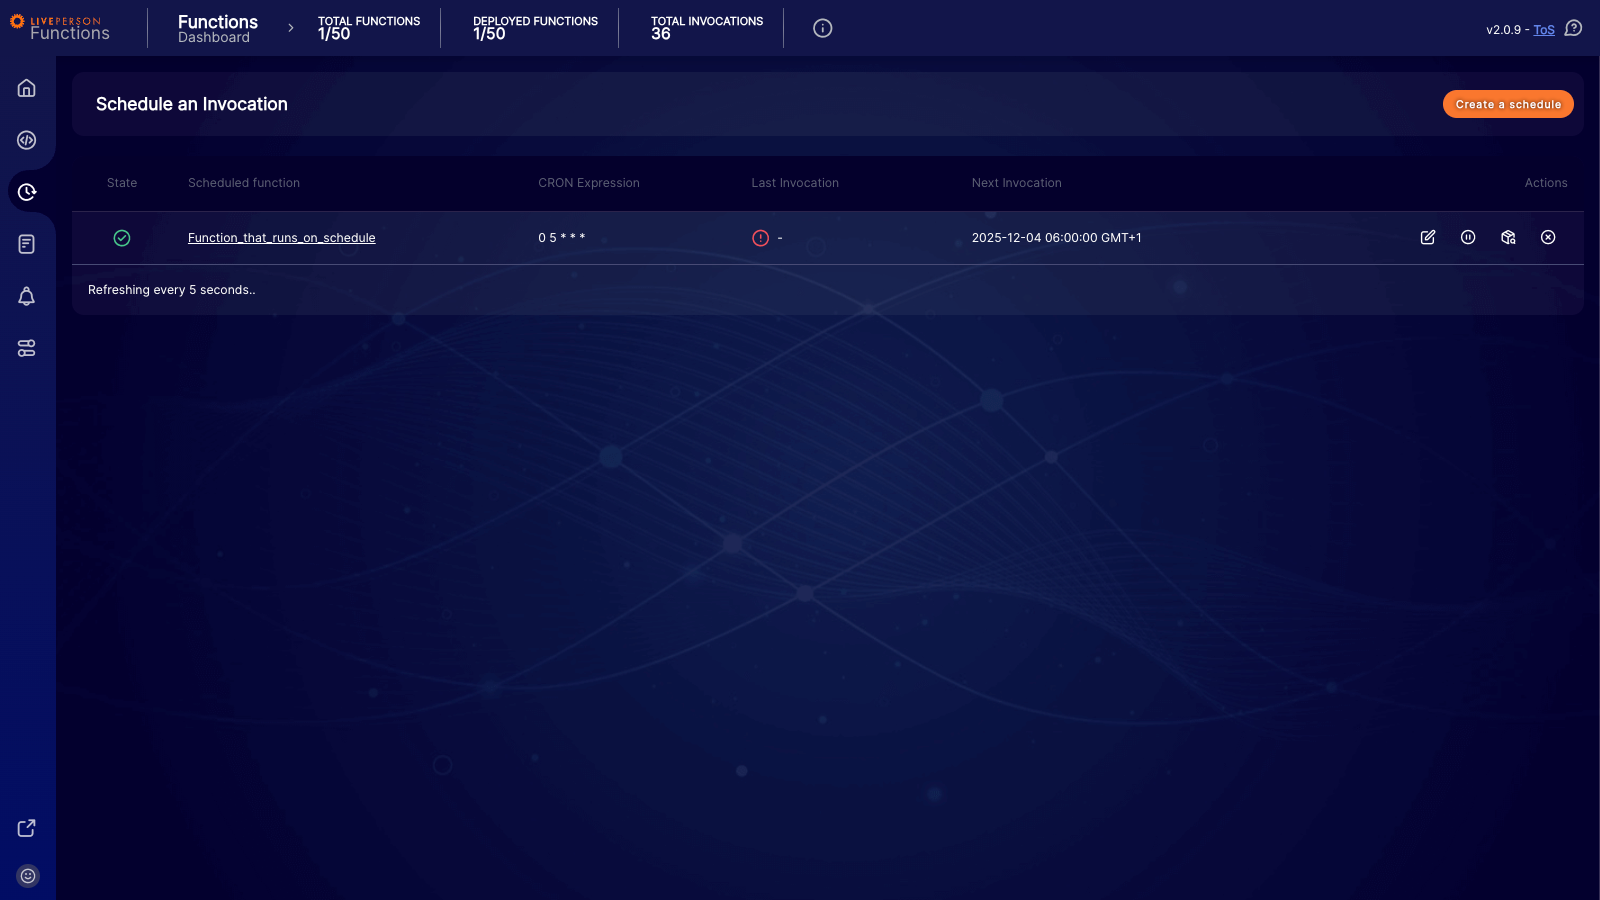
Once you have created schedules, they appear in a comprehensive table view.
Creating a Schedule
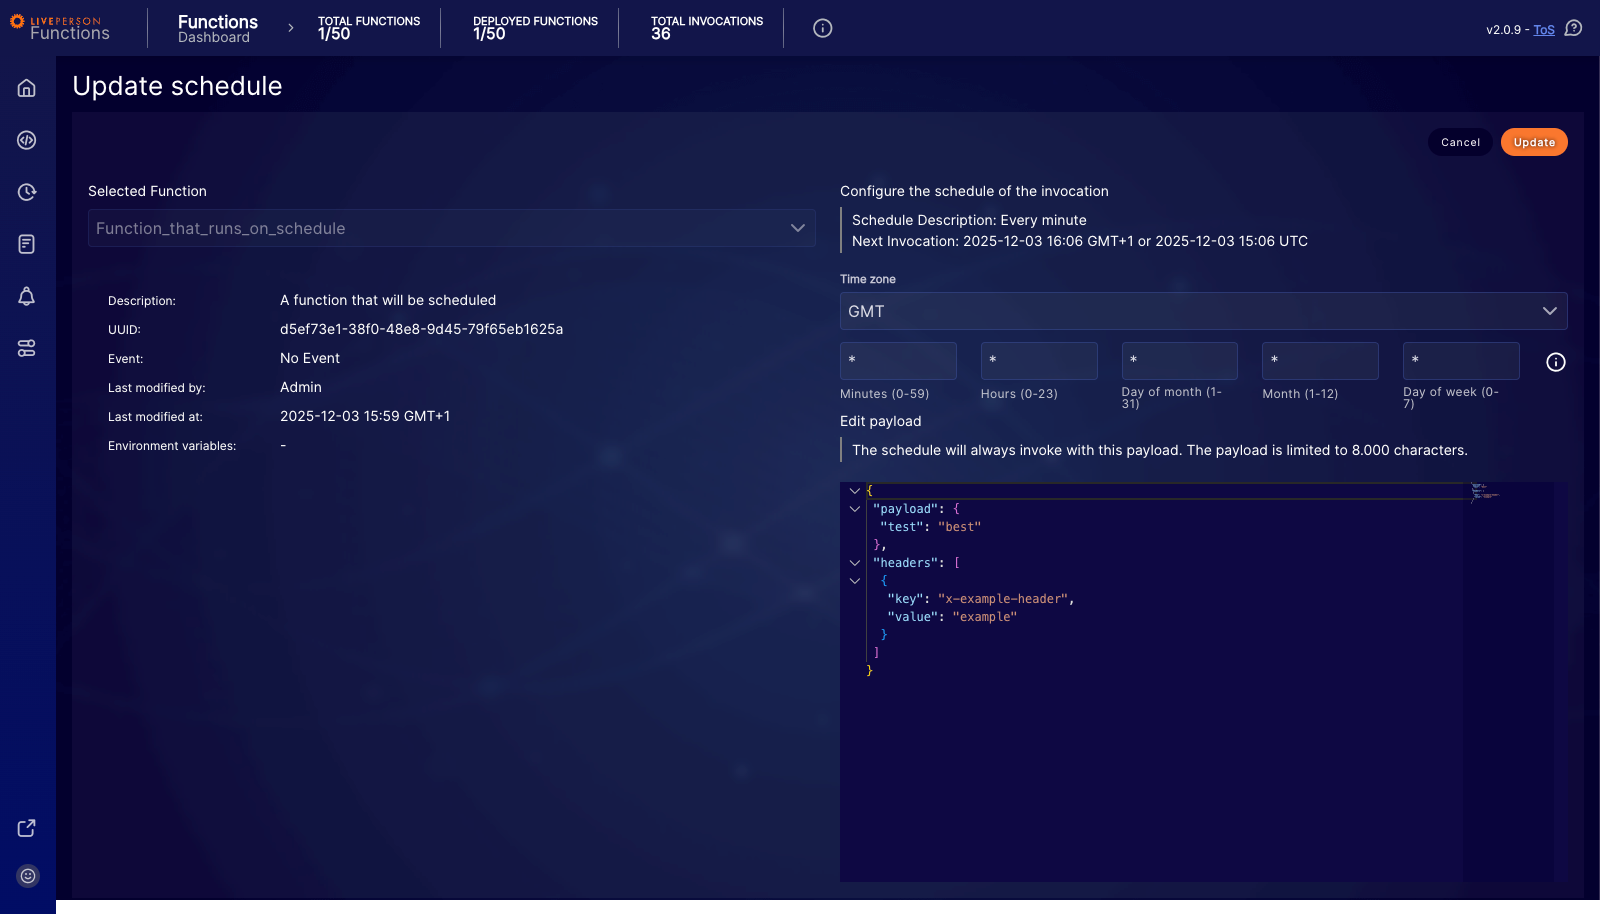
To set up a new automation, click the Create a schedule button. This opens the configuration form where you define what runs and when it runs.
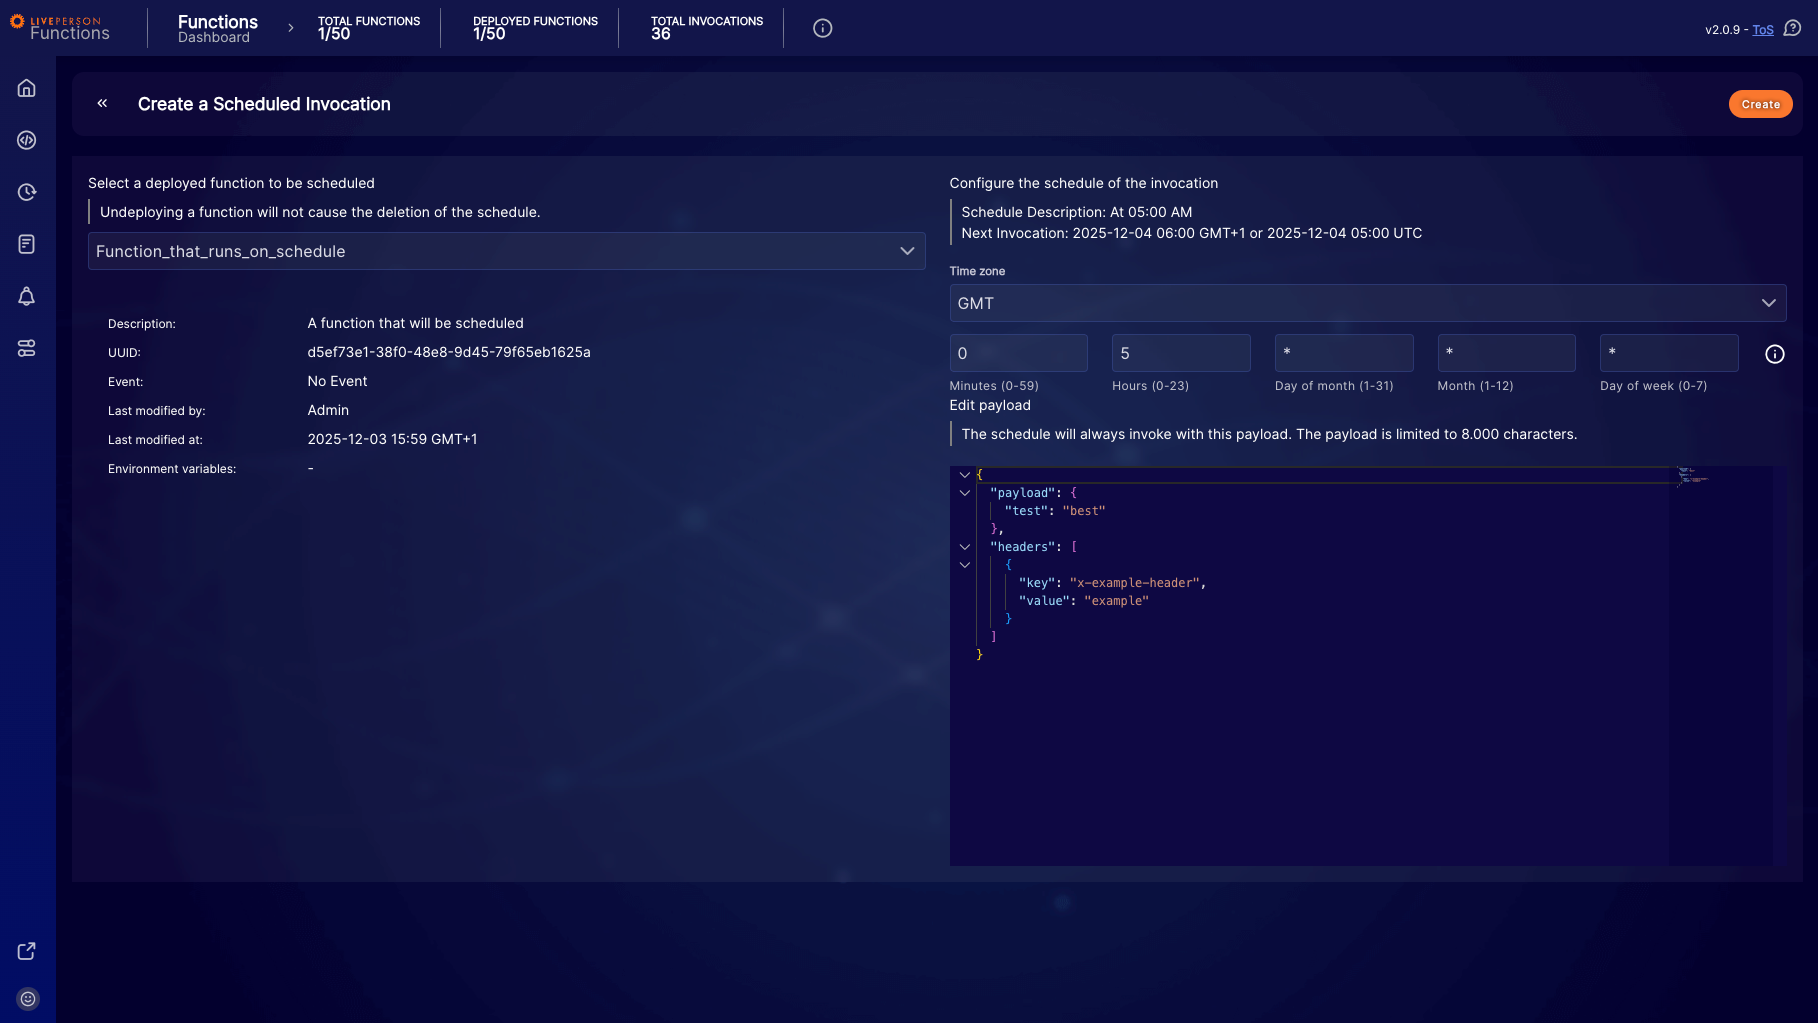
- Select a Function: Choose the function you wish to schedule from the dropdown menu.
You can only select functions that are currently deployed to the productive environment. Draft functions are excluded from this list.
- Configure Time Zone: Select the specific time zone for your schedule.
Previously, scheduling was strictly based on UTC. You can restore this behavior by selecting UTC from the time zone list.
-
Define Frequency (CRON): Use the input fields to define the schedule using standard CRON syntax.
- Minutes: 0–59
- Hours: 0–23
- Day of month: 1–31
- Month: 1–12
- Day of week: 0–7
For example, setting the expression to * * * * * runs the function every minute (the lowest supported frequency). Setting it to 0 5 * * * runs the function every day at 05:00 AM in your selected time zone.
- Edit Payload: You can define a specific JSON payload that is sent with every scheduled invocation. The limit for this payload is 15,000 characters.
Managing Schedules
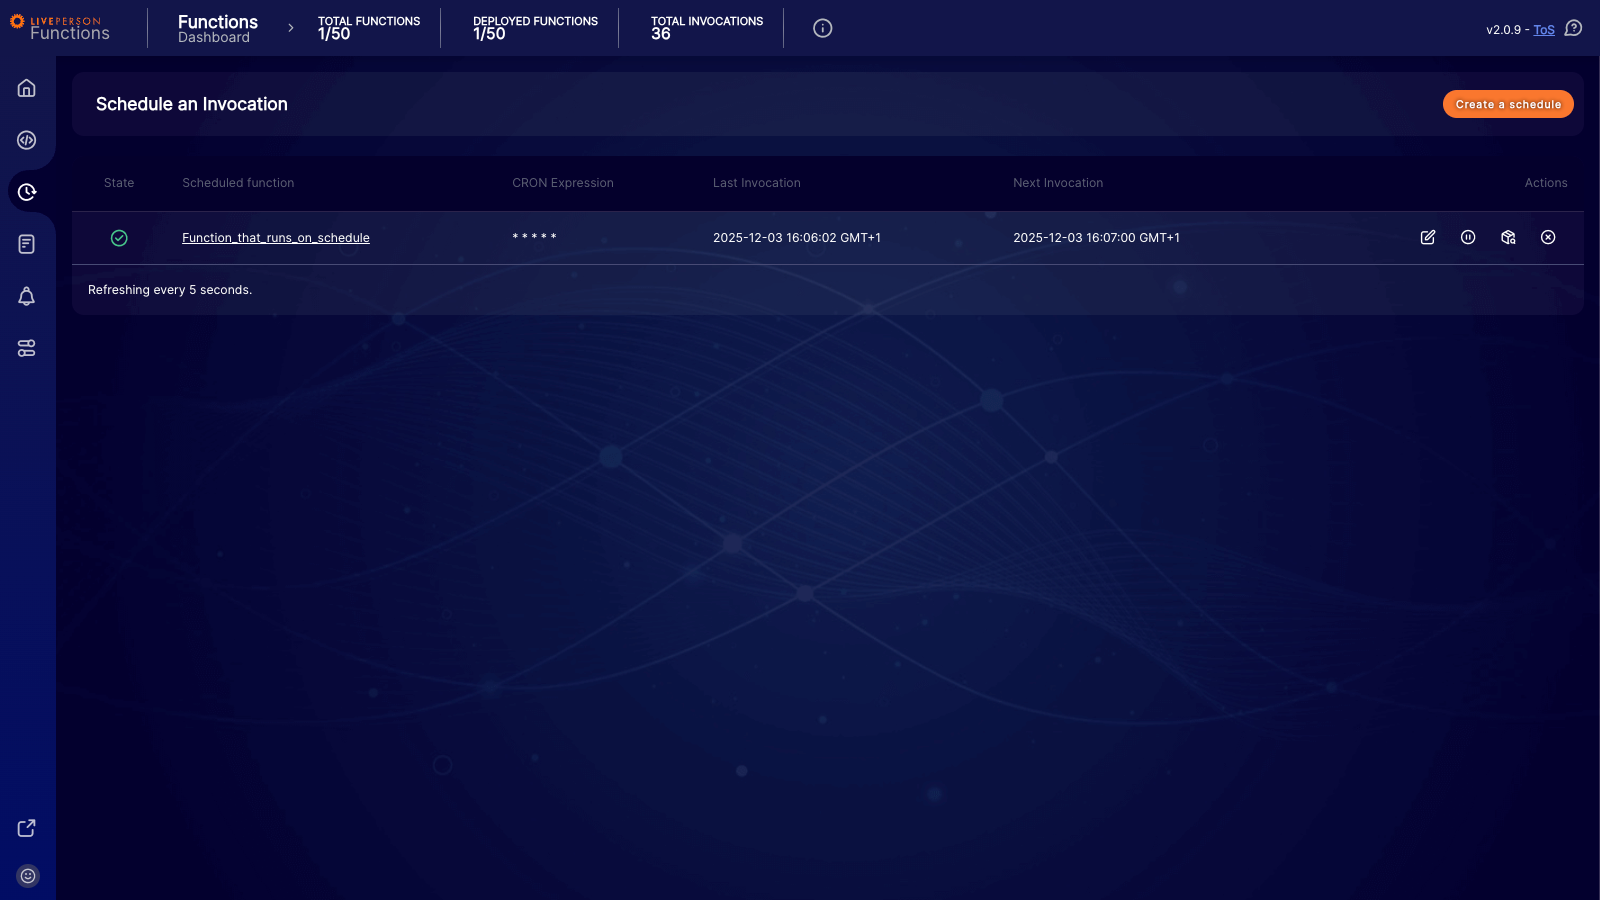
The main dashboard provides an overview of all your schedules, displaying their state, the next scheduled run, and the result of the last invocation.
Status Indicators
-
Fresh Schedules: A newly created schedule that has not run yet will display a hyphen (
-) in the Last Invocation column with a "failed" status indicator. This creates a visual alert that the schedule is pending its first successful run. - Active Schedules: Once the schedule executes successfully, the table updates to show the timestamp of the last execution.
Actions
On the right side of each table row, you can perform the following actions:
- Edit: Modify the schedule's details.
- Pause/Resume: Temporarily stop or restart the schedule.
- Inspect Payload: View the JSON payload currently configured for the invocation.
- Remove: Permanently delete the schedule.
Updating a Schedule
Clicking the Edit icon opens the update form. Here, you can modify the time zone, the CRON expression, and the payload.
Pausing and Deployment Logic
A schedule can be manually paused via the dashboard. When paused, the schedule displays a distinct paused indicator.

If you undeploy a productive function that has an attached schedule, the schedule is not deleted. Instead, it is automatically paused. You must manually re-enable the schedule if you redeploy the function.
Deleting a Schedule
To remove a schedule, click the Remove icon. A confirmation modal will appear.
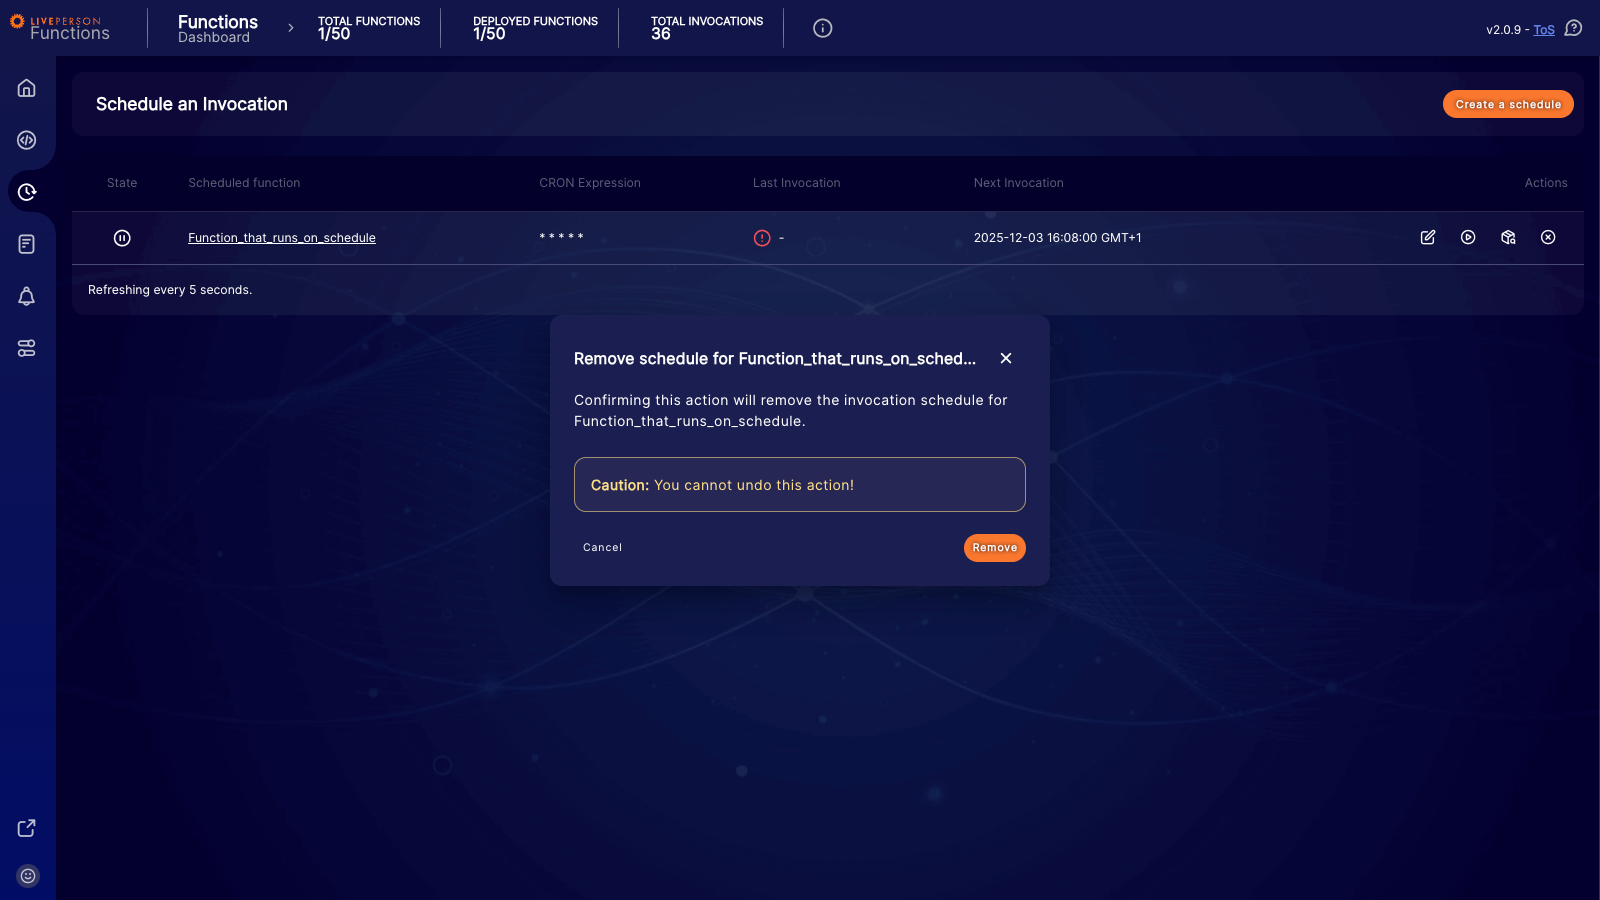
This action cannot be undone. If you delete a schedule, it must be manually recreated.
System Limits
- Total Schedules: You are limited to a maximum of 50 schedules per account.
- Multiple Schedules: A single function can have more than one schedule attached to it.
- Payload Size: The maximum payload size for a scheduled invocation is 15,000 characters.